Science Projects For Kids First Electric Circuit
Get your kids started in electronics Scarecrow with a light in his mouth
This was my daughters first proper electric circuit. She built this scarecrow version in school and it inspired her to want to do another one. We built one at home later which I think is better. The school version used a filament bulb, the sort that you used to find in bycicle lamps before LED's took over. The one we did at home used an LED just so that we could be a bit different. Unfortunately LED technology wasn't like it is today. Our LED, which was already out of my junk box from years earlier, was patheticaly dim. But it did the job for us. 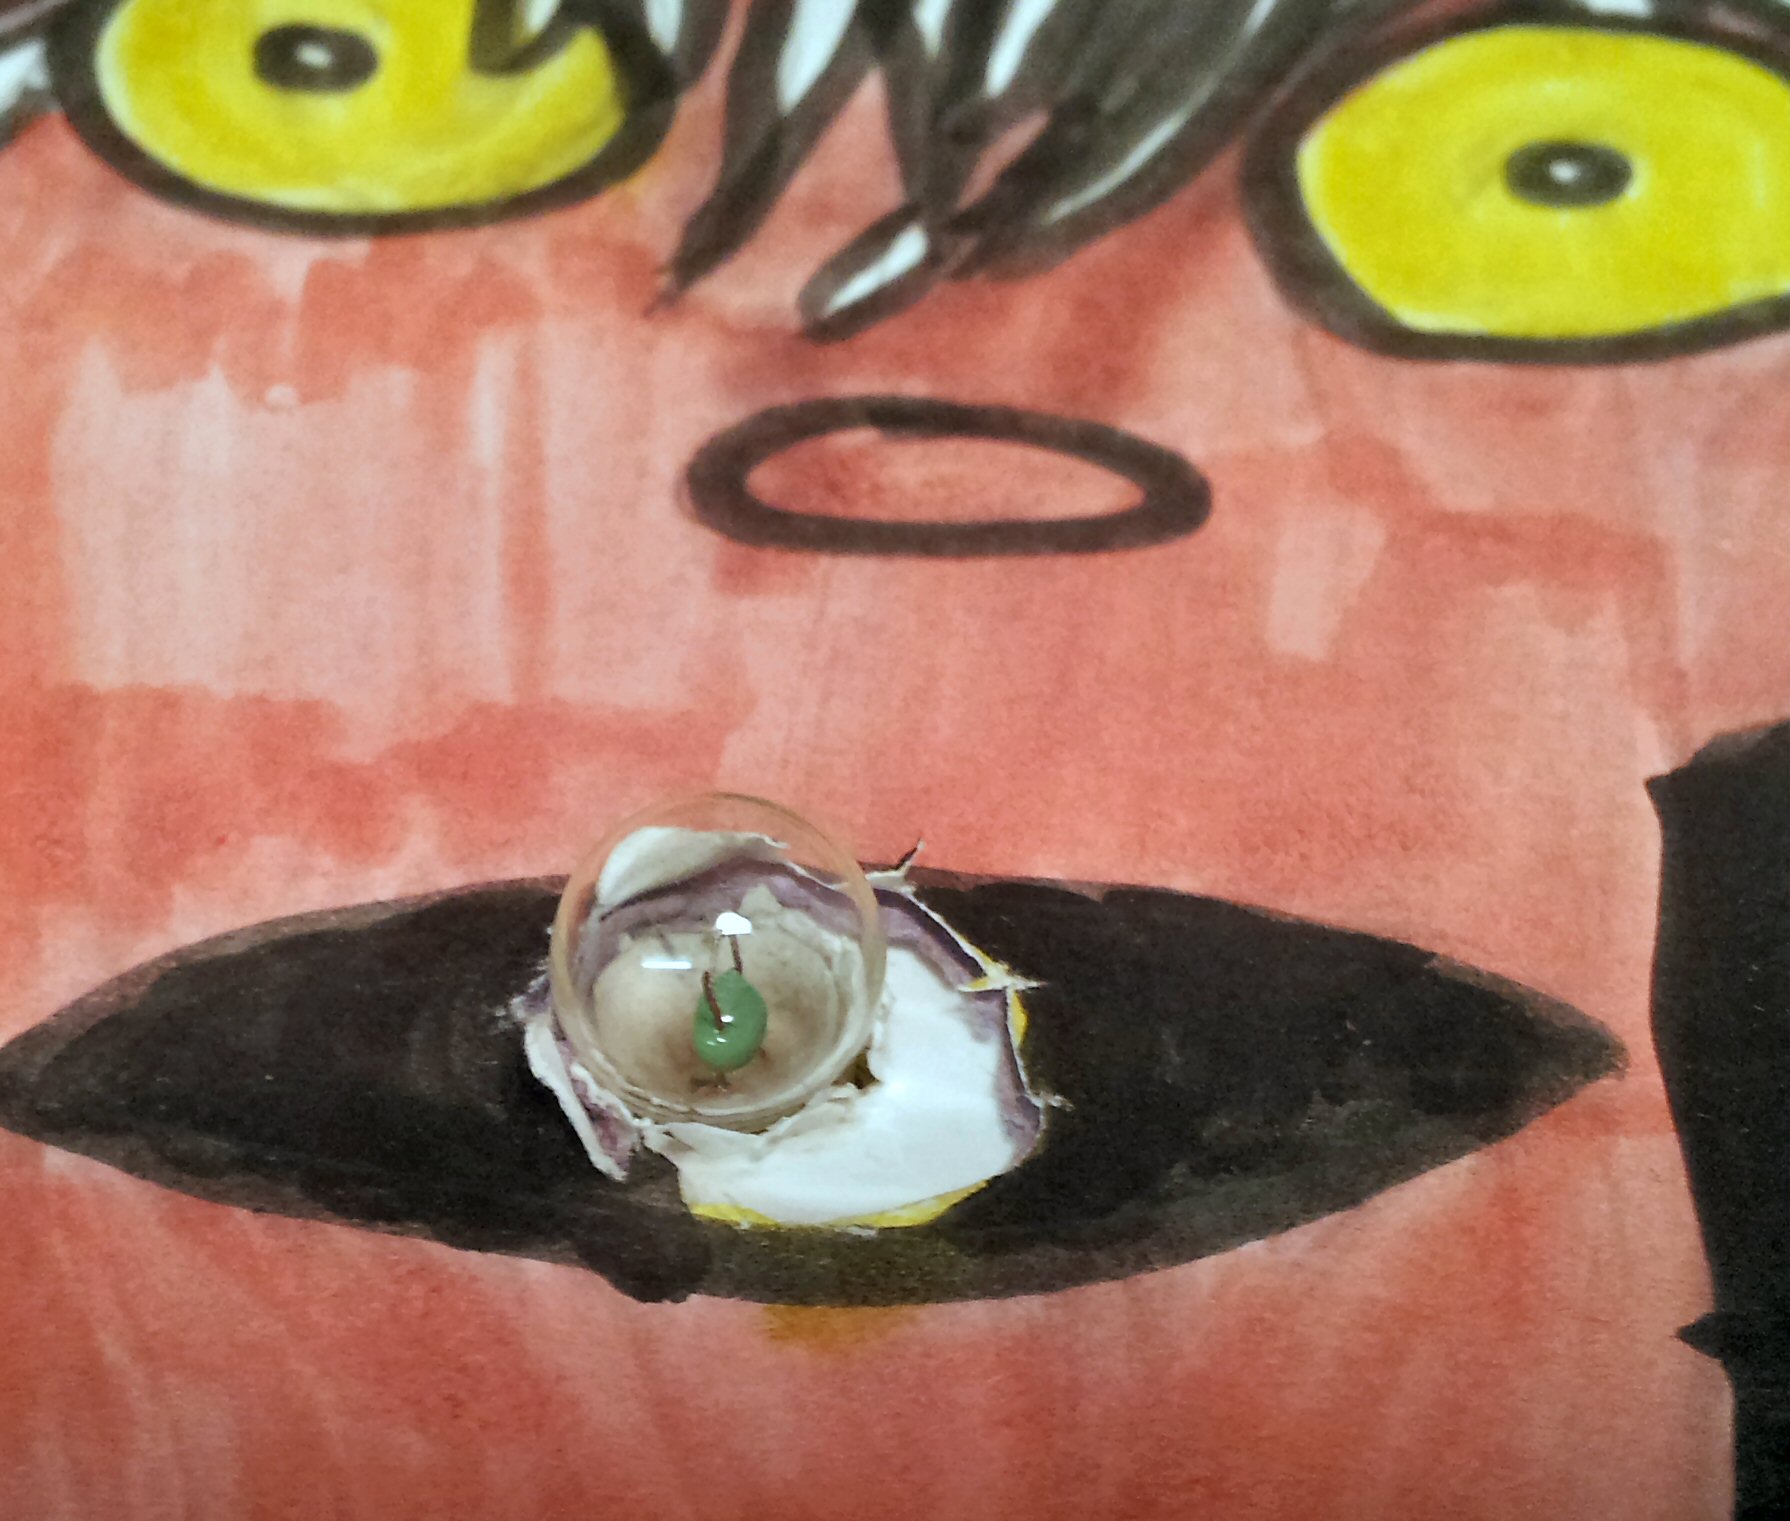
The first thing that you have to do is get your child to draw a picture and stick it to a piece of card. What kid doesn't like to do that? Try to think of a picture where the lamp can be of some meaning. We chose a lighthouse for the circuit we built at home but I'm not sure where the inspiration for the scarecrow with a light in it's mouth came from. To complete the circuit you will need a battery holder, a battery (or 2 AA size batteries), a filament bulb and holder or an LED and a 100 Ohm resistor and a couple of brass split pin paper fasteners to act as the switch. Oh you will need a small piece of tin foil too. 
Make a hole for the LED or bulb in the card and place the lamp in it. Make sure that the hole is a good tight fit to stop it falling out. Remember that this circuit won't have to work very long. Not as long as we kept ours anyway. Hold down the tin foil switch and the bulb should glow. If you hunt around you may be able to find a suitable torch bulb at around 2.5V and a holder to put it in but I suggest that you use an LED with a resistor in series instead. It will be a lot easier. 
Flipping the scarecrow over you can see how the thing is wired up. It uses a battery holder that holds 2 AA sized batteries delivering about 3V. You can see how the circuit runs from the battery, through the bulb holder, to the switch made out of two brass paper fasteners then back to the battery. The battery holder is glued onto the back of the card and the stripped wire ends are just wrapped tightly around the split pins of the paper fasteners. No niceties on this project. It only has to work briefly to fulfill it's purpose. 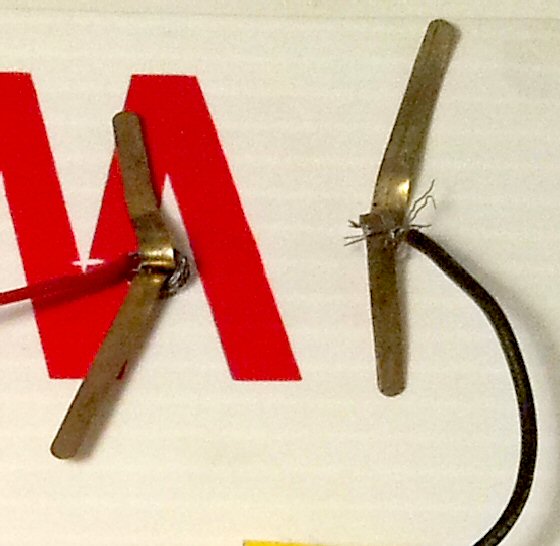
You can see how the wire is wrapped around the bent over brass fasteners in this enlarged image. When I retrieved these projects from the loft and decided to see if they still worked I did have to rework the connections a little. Let's face it, they were meant to last 20 minutes not 20 years. You will need to make a flap of card with some tin foil glued to the top half. Position and glue this on the front side of the scarecrow so that when you close the flap it makes the circuit between the two paper fasteners. 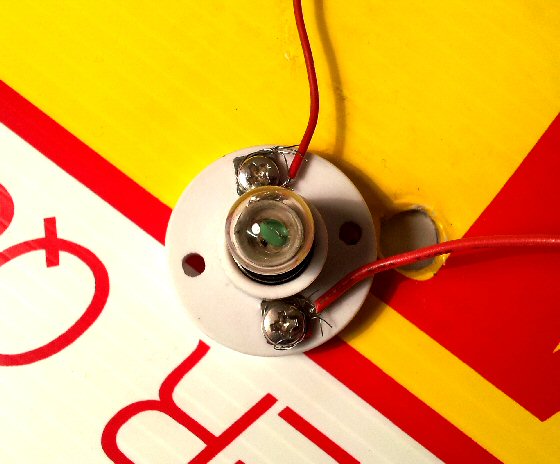
The connections on the bulbholder have screw fixings. Get your child to wrap the wire under the head of the screw and then screw it down tight. This can be a bit fiddly so best you get the children to do that. They will probably be better at it. 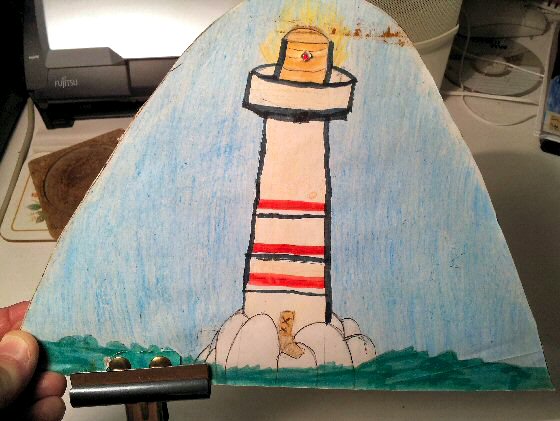
Now for the one we made at home. Hollie drew a lighthouse for this one so that we could put an LED lamp where the lighthouse lamp would be. I thought that this was much more appropriate than a scarecrow with a light in his mouth but what do I know? 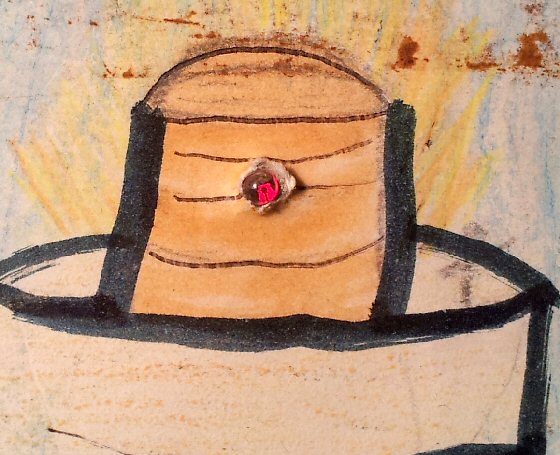
We didn't bother with a tin foil flappy switch on this one. We simply clipped a bulldog clip over the switch contacts instead. It does the same job. We didn't have any split pin fasteners at home so we used two brass drawing pins instead. As you can see, LEDs weren't nearly as bright as the ones we are used to today. I might swap this one for a nice high intensity one when I make the video for this. 
The lighthouse circuit is very similar to the scarecrow version except that we used an LED with resistor instead of a filament bulb and bulb holder and drawing pins instead of the brass split pin fastener. Now I did solder up the connections on our lighthouse version. This added something that my daughter had not seen at school while building scarecrow. You can just wrap the wire around the connections instead if you want to. 
When we had completed these circuits I looked around to see if I could buy her an electronics construction kit like the one I had when I was her age. I couldn't find anything remotely similar at the time which is a shame because I think she would have gotten a lot out of it. It's a lot easier today though. If I was looking again then I would get her something like the Elenco Snap Circuits electronics kit. Now that the grandkids are getting close to the right age I may well get this for them and have some fun helping them put the circuits together. My daughter loved this little project and she learned something from it too. Did she grow up to be an engineer. Well no not exactly. She did grow to have a love of science and she chose to become a doctor instead. See the full range of electronics egineering kits at Amazon |
| Now subscribe to our newsletter and don't miss a thing |
|
|


Comments
No comments yet.Add Comment